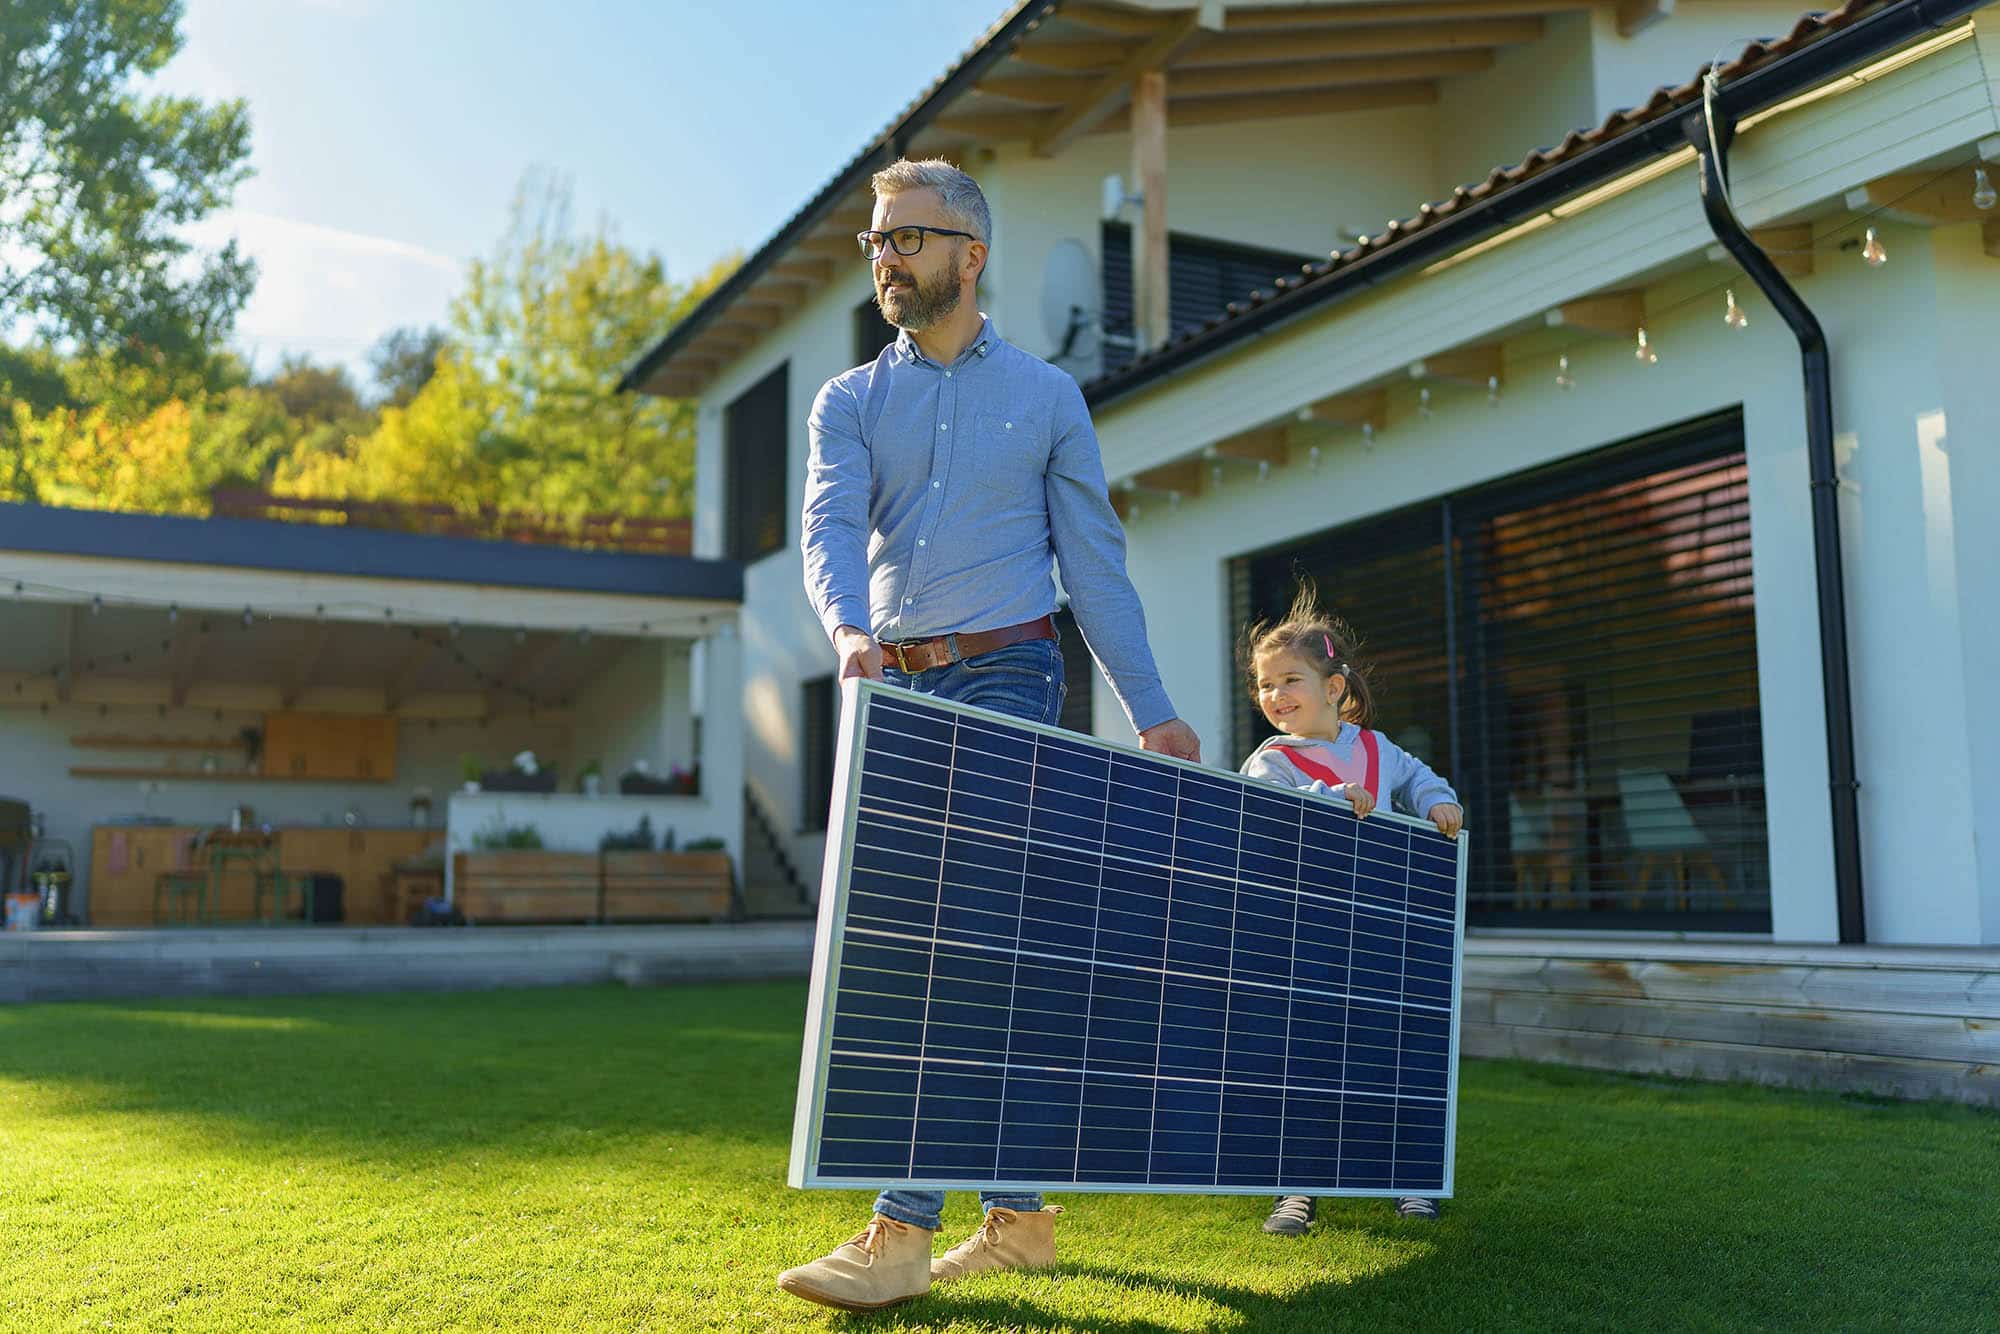
Embarking on a do-it-yourself (DIY) solar panel installation journey can be a rewarding endeavor, offering the satisfaction of generating clean energy while potentially reducing electricity bills. With the right guidance and preparation, homeowners can successfully install solar panels on their own property. This comprehensive guide provides essential tips, step-by-step instructions, and considerations for a successful DIY solar panel installation.
Understanding DIY Solar Panel Installation
DIY solar panel installation involves mounting photovoltaic (PV) panels on your property to harness solar energy. While this task requires technical knowledge and adherence to safety protocols, it is feasible for individuals with a certain level of DIY skills and familiarity with electrical components.
Essential Tips and Considerations
1. Pre-Installation Planning:
- Assess Your Energy Needs: Determine your electricity usage and calculate the number of solar panels required to meet your needs.
- Roof Suitability: Evaluate the roof’s orientation, angle, and structural integrity to ensure it can support solar panels. South-facing roofs with minimal shading are ideal.
- Local Regulations: Research and comply with local building codes, permits, and utility regulations for solar installations.
2. Equipment and Materials:
- Quality Solar Panels: Invest in high-quality solar panels from reputable manufacturers to ensure efficiency and longevity.
- Mounting Hardware: Purchase appropriate mounting brackets, rails, and hardware for secure panel installation.
- Inverters and Wiring: Select inverters and wiring suited to your panel setup and electrical requirements.
3. Safety Measures:
- Turn Off Power: Prior to installation, turn off electricity to the area where panels will be installed to prevent electrical hazards.
- Use Safety Gear: Wear appropriate safety gear, including gloves, safety glasses, and harnesses if working at heights.
4. Step-by-Step Installation Process:
Step 1: Roof Preparation
- Clean the installation area and ensure the roof surface is clear of debris. Mark the spots where panels will be mounted.
Step 2: Mounting System Installation
- Install mounting brackets or rails according to the manufacturer’s instructions, ensuring proper alignment and secure attachment to the roof.
Step 3: Panel Installation
- Attach the solar panels to the mounting system using bolts or clamps. Ensure panels are positioned correctly and securely fastened.
Step 4: Electrical Wiring
- Connect the panels with wiring and install inverters as per the system design. Follow electrical safety guidelines and consult an electrician if needed.
Step 5: System Testing and Activation
- Test the system to ensure proper connections and functionality. Once verified, activate the solar system and monitor its performance.
5. Post-Installation Maintenance:
- Regularly inspect panels for dirt or debris and clean them as needed to maintain optimal efficiency.
- Check electrical connections periodically and schedule professional maintenance, if required.
Conclusion
DIY solar panel installation, while achievable, requires meticulous planning, adherence to safety measures, and an understanding of electrical components. By following this comprehensive guide and seeking advice from professionals when needed, homeowners can embark on a successful journey towards harnessing solar energy, reducing electricity costs, and contributing to a more sustainable future. Remember, if uncertain about any aspect of installation, consulting a certified solar professional is always a prudent choice to ensure safety and efficiency.


